

Introduction:
In the ever-evolving world of photography, digital tools have become indispensable for both amateur and professional photographers. Adobe Lightroom stands out as a powerful photo editing software, offering a wide range of features to enhance and transform images. One particularly exciting feature is the use of portrait presets, designed to streamline the editing process and add a touch of magic to your portraits. In this article, we’ll explore the world of portrait presets, how to use them on both Lightroom Desktop and Mobile, and how they can elevate your photography game.
Understanding Portrait Presets:
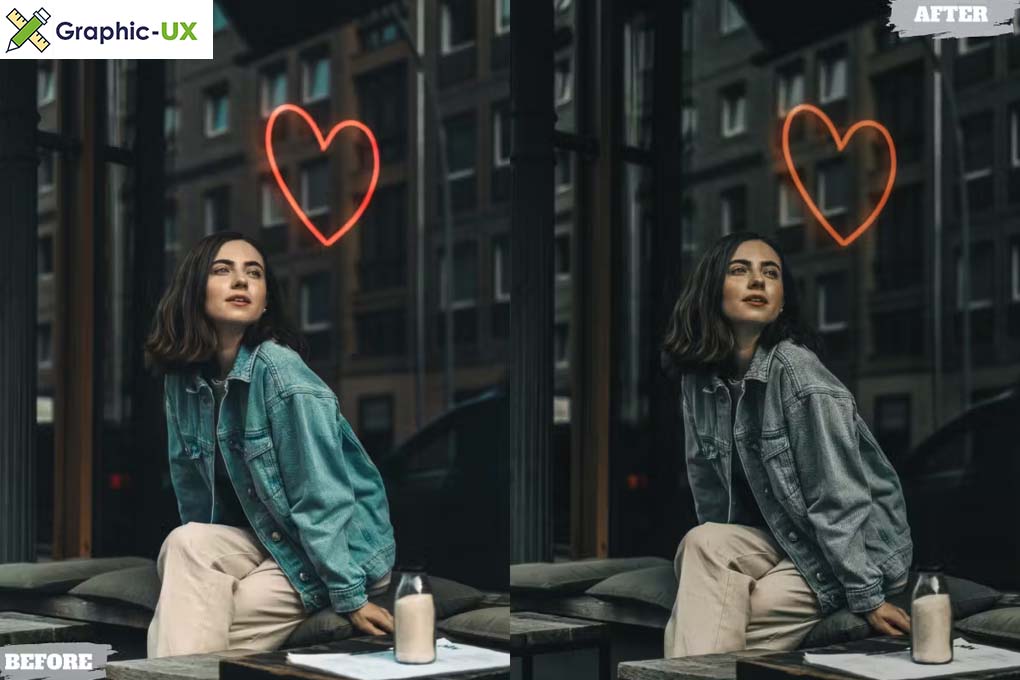
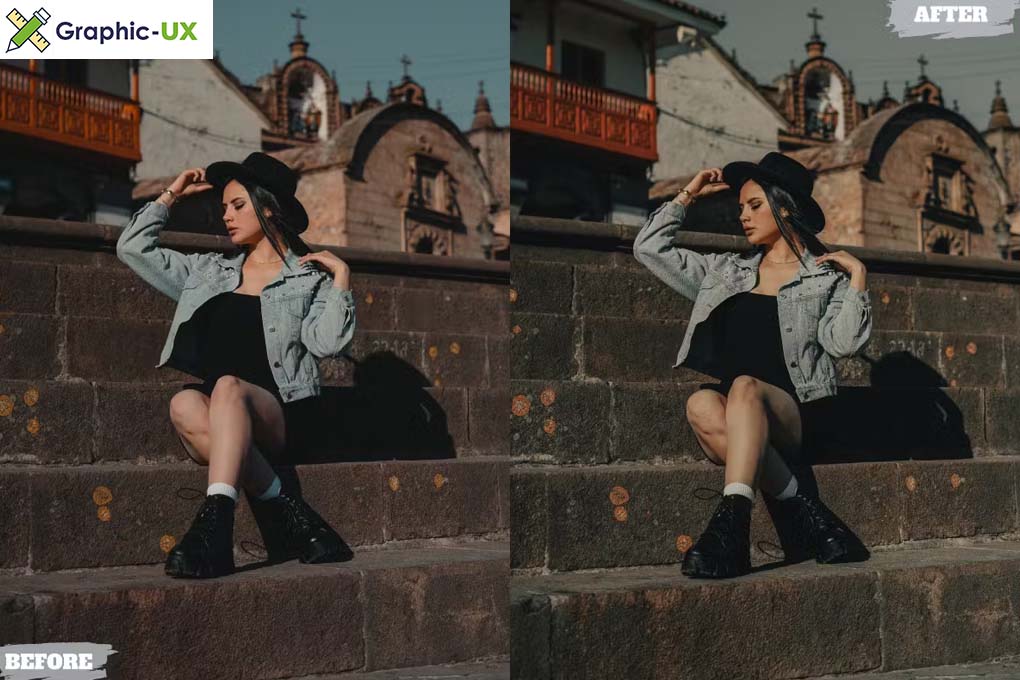
Portrait presets are pre-configured editing settings that can be applied to your photos with a single click. These presets are like filters but more sophisticated, as they adjust multiple aspects of an image simultaneously, such as exposure, contrast, color grading, and more. Specifically designed for portrait photography, these presets can save you time and effort while ensuring a consistent and professional look across your images.
Using Portrait Presets on Lightroom Desktop:
- Importing Presets:
- Download your desired portrait presets from reputable sources or create your own custom presets.
- Open Lightroom Desktop and go to the Develop module.
- In the Presets panel, right-click on “User Presets” and select “Import.”
- Locate and import your downloaded presets.
- Applying Presets:
- Open the portrait photo you want to edit.
- In the Develop module, find the Presets panel on the left side.
- Click on the preset you want to apply, and voila! Your image transforms instantly.
- Adjusting Presets:
- Presets are customizable. After applying a preset, you can further tweak individual settings to match your preferences.
- Experiment with sliders for exposure, contrast, and color to fine-tune the preset’s impact.
Using Portrait Presets on Lightroom Mobile:
- Syncing with Lightroom Desktop:
- If you use Lightroom Desktop, you can sync your presets with Lightroom Mobile for a seamless editing experience.
- Ensure your Lightroom Desktop and Lightroom Mobile are signed in with the same Adobe ID.
- In Lightroom Desktop, click on the cloud icon and enable syncing for the desired collection.
- Applying Presets on Mobile:
- Open Lightroom Mobile and select the photo you want to edit.
- Swipe up to reveal the Presets panel.
- Your synced presets from Lightroom Desktop will be available here.
- Tap on a preset to apply it, and make additional adjustments if needed.
Benefits of Portrait Presets:
- Consistency:
- Achieve a consistent look across your portrait portfolio, whether shot in different lighting conditions or locations.
- Time-Saving:
- Save valuable editing time by avoiding repetitive adjustments for each photo.
- Learning and Inspiration:
- Analyze how presets affect different aspects of an image, providing valuable insights into the art of photo editing.
Conclusion:
Portrait presets in Lightroom offer a quick and efficient way to enhance your portrait photography. Whether you’re a professional seeking a streamlined workflow or an enthusiast looking to experiment with creative looks, portrait presets provide a powerful tool for elevating your photography. By mastering the use of presets on both Lightroom Desktop and Mobile, you can unlock new possibilities and breathe life into your portraits with a few simple clicks.