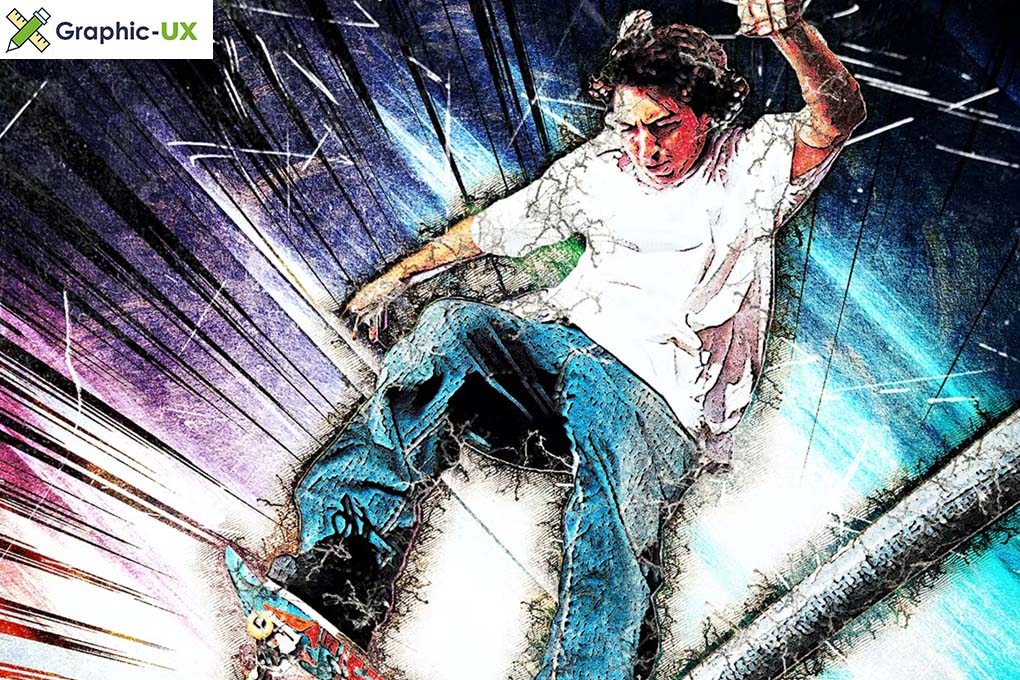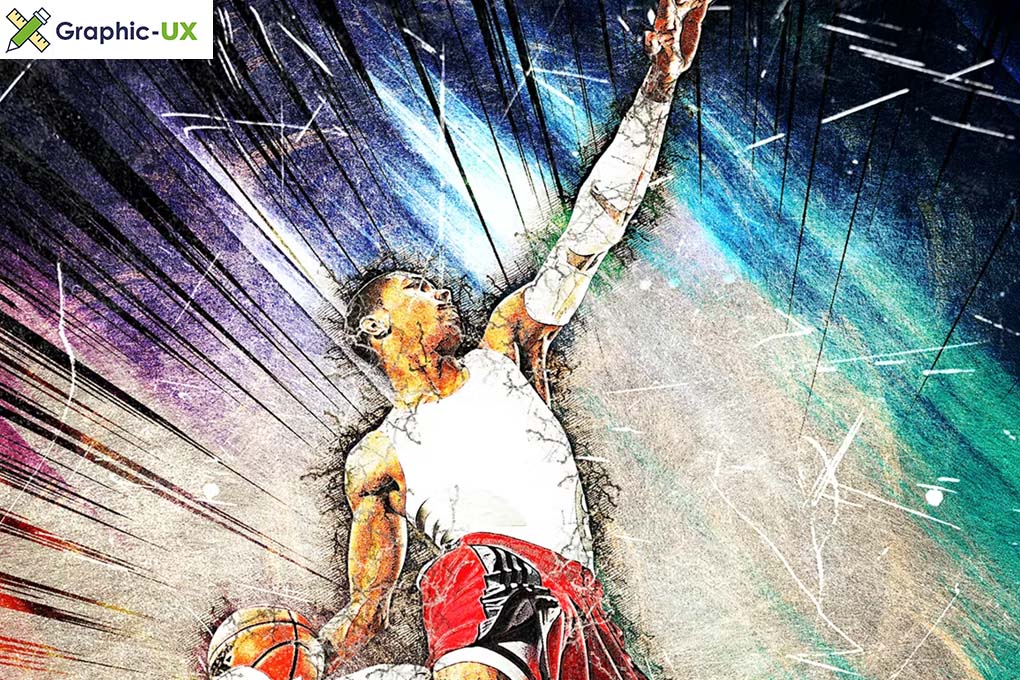

Grunge Image Photoshop Action
Included:
atn file.
brush file.
Pattern file.
Help file.
//—————————-//
Before you play the action check the following:
- Your photo is in “RGB” color mode
- Your photo is in “8bit” color mode
- Make sure that your image is “Background layer”,Your photo should be merged with the background To merge layers, press Ctrl + E
- You are running the English version of Photoshop.
- Please don’t use small resolution images. and at least 2000 pixels width/height. Use high-resolution photos with the Action for the best results and to avoid errors .
//———————————————//
How to install the action:
- Start Photoshop, go to the “Window” menu and select “Actions”. A window will now appear to the right hand side.
- Inside the “Actions window”, click on the down arrow area to reveal the drop down menu.
From there select “Load Actions…”. Select the action which came with the download and click “Load”.
3.Load The ” grunge image photoshop action “
- The action will now appear in the actions panel.
- From the list Edit > Presets > Presets Manager > Presets Type > Brushes > Load > grunge image brush > Done
6 From the list Edit > Presets > Presets Manager > Presets Type > Patterns > Load > grunge image photoshop Patterns > Done
——————————————— When Actions Load
How to use the action: ———————————————
- Open a photo to work with
- Your photo should be merged with the background To merge layers, press Ctrl + E
- Create a new layer above the background layer called ‘brush’.
- With the ‘brush’ layer selected, brush onto the areas of your photo that you want to apply the effect to.
- Now click play on the action

